Have you ever considered growing your own wheat right in your backyard garden? Winter wheat offers an exciting opportunity for home gardeners to produce their own grain, connect with traditional agriculture, and enjoy the satisfaction of a truly homegrown harvest. Unlike its spring-planted counterpart, winter wheat is sown in fall, develops a strong root system during winter, and rewards you with an early summer harvest. Growing winter wheat at home isn’t just for farmers with vast fields—it’s perfectly suitable for backyard gardeners looking to explore grain cultivation on a small scale.
Table of Contents
Materials & Supplies
To successfully grow winter wheat in your garden, you’ll need:
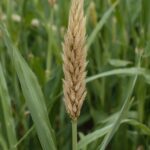
- Winter wheat seeds: Choose varieties specifically labeled as “winter wheat” such as Soft Red, Hard Red, or White Winter wheat.
- Garden space or containers: At least 4-6 square feet for a meaningful harvest, or deep containers (12+ inches) for smaller spaces.
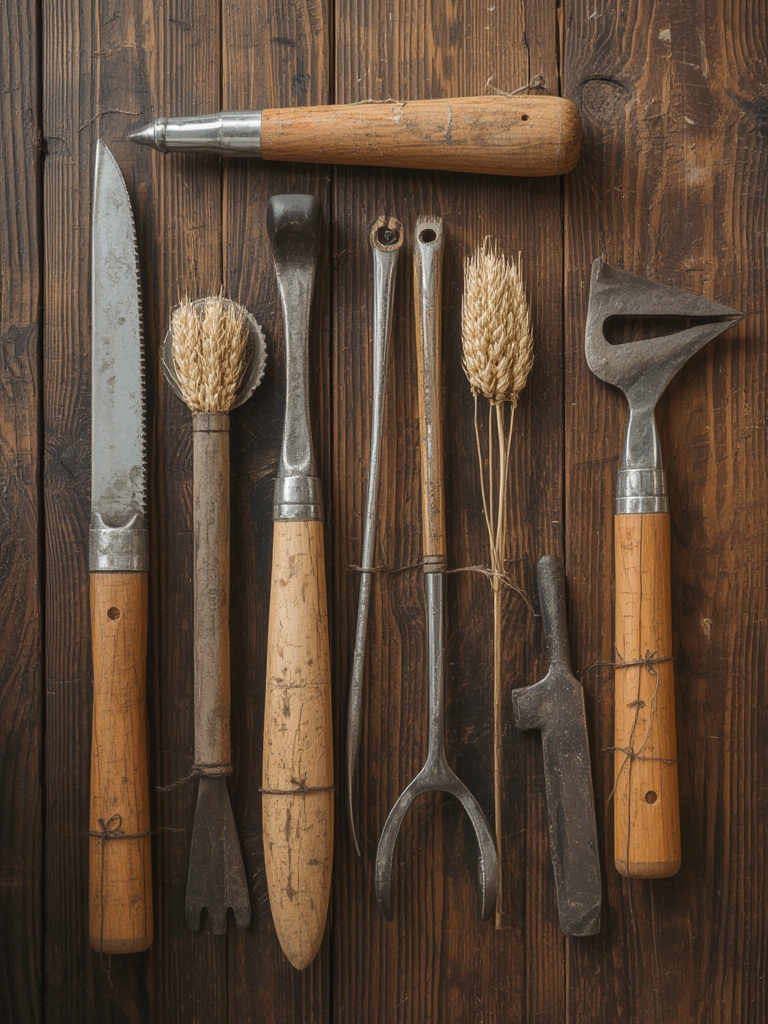
- Basic garden tools: Rake, hoe, shovel, and garden fork for soil preparation.
- Compost or organic matter: To enrich your soil before planting.
- Balanced fertilizer: A 10-10-10 or similar balanced formula works well.
- Mulch material: Straw or leaf mulch to protect young plants during winter.
- Watering equipment: Sprinkler, watering can, or drip irrigation system.
- Harvesting tools: Pruning shears or sickle for small harvests, plus a threshing surface (tarp or sheet).
Timing / Growing Schedule
Winter wheat follows a unique timeline compared to other garden crops:
- Planting time: 6-8 weeks before the first hard freeze (typically September to October, depending on your climate zone)
- Germination: 7-14 days after planting
- Winter dormancy: Plants establish roots through fall, go dormant during winter
- Spring growth: Rapid vertical growth begins in early spring
- Heading stage: Seed heads form 6-8 weeks after growth resumes
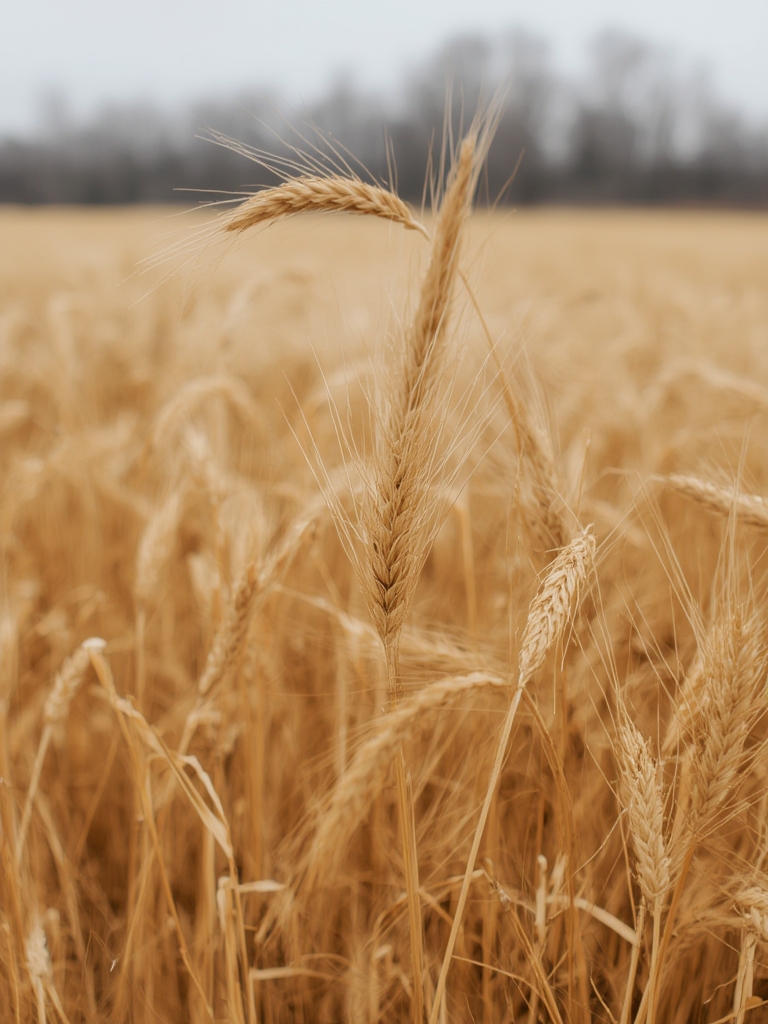
- Harvest time: Early to mid-summer (June-July), when stalks turn golden and heads bend downward
The entire growing cycle typically spans 9-10 months, making winter wheat a long-term but rewarding garden project.
Step-by-Step Instructions

Prepare your soil: Clear the garden area of weeds and debris. Work in 2-3 inches of compost, then rake to create a smooth, level seedbed. Winter wheat prefers well-draining soil with a pH of 6.0-7.0.
Sow the seeds: Broadcast seeds evenly across the prepared area, aiming for about 1 seed per square inch. Lightly rake to cover seeds with ¼-½ inch of soil—too deep and germination rates will suffer.
Initial watering: Water thoroughly after planting to encourage germination. The soil should remain consistently moist but not waterlogged during the establishment phase.
Fall management: Allow plants to grow to about 4-6 inches tall before winter. If growth becomes excessive (over 8 inches), you can mow once to prevent lodging later.
Winter protection: Apply a light layer of straw mulch if your area experiences harsh winters with limited snow cover. The plants need some protection but too much can cause rot.
Spring care: As growth resumes in spring, apply a light application of nitrogen fertilizer. Keep the area weed-free, as young wheat competes poorly with established weeds.
Harvest preparation: When wheat stalks turn golden and heads begin to droop, test a few kernels by squeezing them—they should be firm but not rock hard.
Harvesting: Cut stalks several inches below the seed heads using garden shears or a sickle. Bundle them together and hang upside down in a dry location to complete drying.
Threshing and winnowing: Once completely dry, rub heads between your hands over a tarp to separate seeds from chaff, then gently blow away the lighter chaff.
Nutritional Benefits
Home-grown winter wheat offers excellent nutritional value, containing fiber, protein, B vitamins, and essential minerals like manganese and selenium. Growing your own allows complete control over cultivation methods, avoiding commercial pesticides and preservatives. Fresh-milled wheat retains more nutrients than store-bought flour, which often loses nutritional value during extended storage.
Tips and Alternative Methods
- Container growing: Use containers at least 12 inches deep, placing them in a sunny location that receives 6+ hours of direct sunlight.
- Raised bed approach: Ideal for areas with poor soil drainage; build beds at least 8 inches deep.
- Companion planting: Plant clover alongside wheat to add nitrogen to the soil naturally.
- Small space strategy: Even a 4×4 foot plot can produce enough wheat for several loaves of bread.
- Climate adaptations: In warmer zones (8+), plant later (November); in very cold regions, choose cold-hardy varieties and ensure adequate mulch protection.
Common Mistakes to Avoid
Planting at the wrong time: Sowing too early leads to excessive fall growth; too late means insufficient root development before freezing weather.
Solution: Follow regional planting guidelines for your specific climate zone.Overwatering: Wet, soggy conditions promote disease and root rot.
Solution: Ensure good drainage and water only when the top inch of soil is dry.Neglecting bird protection: Birds love newly sown wheat seeds.
Solution: Cover freshly seeded areas with lightweight row cover until germination.Harvesting too early or late: Timing is critical for grain quality.
Solution: Harvest when kernels are firm but can still be dented with a fingernail.
Storage and Maintenance Tips
Store harvested wheat berries in airtight containers in a cool, dry place for up to a year. For longer storage, keep them in the freezer. Whole wheat berries maintain nutritional value much longer than milled flour.
For maintenance, water deeply but infrequently during dry spells. Remove any weeds promptly, as they compete for nutrients. In spring, monitor for pests like aphids or rust, treating organically when possible with neem oil or insecticidal soap.
Conclusion
Growing winter wheat in your home garden connects you with one of humanity’s oldest agricultural traditions while providing nutritious, homegrown grain. While it requires patience and some dedicated space, the process is surprisingly straightforward and extremely rewarding. The satisfaction of making bread from wheat you’ve grown yourself is unmatched in the gardening world. Why not set aside a small plot this fall and experience the full journey from seed to loaf?
FAQs
How much space do I need to grow enough wheat for bread?
A 10×10 foot plot can yield 5-10 pounds of grain, enough for several loaves of bread. Even smaller plots are worthwhile for the experience and supplemental grain.
Can I grow winter wheat in a cold climate?
Yes, winter wheat is specifically adapted to survive cold temperatures. Choose cold-hardy varieties and consider applying mulch for extra protection in zones 3-4.
Do I need special equipment to process my wheat harvest?
While commercial farms use specialized equipment, home gardeners can process small harvests with basic tools. A grain mill is helpful for flour production but not necessary for the growing process.
How do I know when my winter wheat is ready to harvest?
Look for golden-colored stalks and heads that droop downward. Test kernels by squeezing them—they should be firm but not hard as rock, with no milky liquid when crushed.
Can winter wheat be grown organically?
Absolutely! Winter wheat responds well to organic cultivation methods, including compost fertilization and natural pest management, making it an excellent crop for organic gardeners.