
Have you ever wondered if those store-bought garlic bulbs could flourish in your own garden? Growing garlic at home is not only surprisingly simple but also incredibly rewarding. The satisfaction of harvesting your own flavorful garlic bulbs far exceeds the taste of commercially grown varieties. Whether you have a spacious garden or just a few containers, garlic is an excellent addition to any home growing project, requiring minimal space while delivering maximum flavor. With proper timing and care, your homegrown garlic will enhance your culinary creations all year round.
Table of Contents
Materials & Supplies
To start your garlic growing journey, you’ll need:
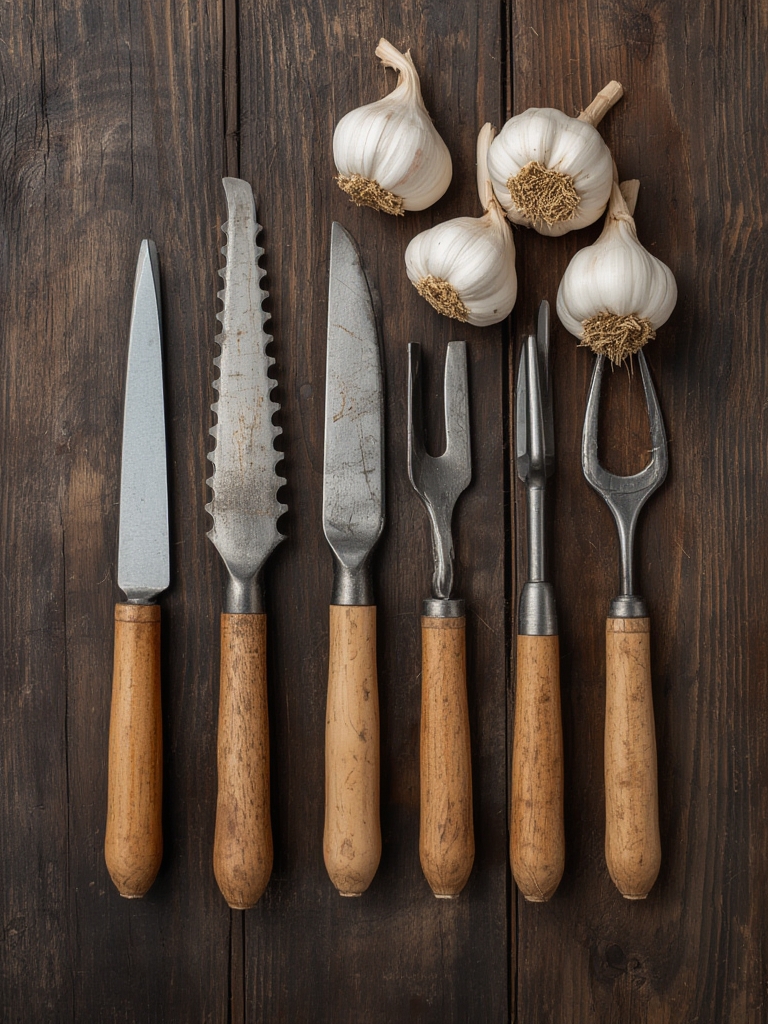
- Garlic bulbs: Choose organic garlic bulbs from a nursery or garden center for best results. Avoid supermarket garlic as it may be treated with growth inhibitors.
- Well-draining soil: A loamy, rich soil with a pH between 6.0-7.0 is ideal.
- Compost or aged manure: To enhance soil fertility.
- Garden fork or tiller: For loosening soil before planting.
- Garden trowel: For digging planting holes.
- Mulch: Straw, leaves, or grass clippings work well.
- Watering can or irrigation system: For consistent watering.
- Plant markers: To identify different garlic varieties if planting multiple types.
- Pruning shears: For harvesting and trimming scapes.
Timing / Growing Schedule
Garlic is typically planted in fall (September to November in most regions) for harvest the following summer. This timing allows the cloves to establish roots before winter dormancy and resume vigorous growth in spring. The entire growing cycle spans approximately 8-9 months from planting to harvest. In warmer climates (zones 7-10), garlic can be planted as late as February, though fall-planted garlic often produces larger bulbs. Plan your garden space accordingly, as this long-season crop will occupy the space for three-quarters of the year.
Step-by-Step Instructions
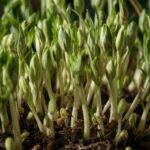
Separate the garlic bulb: Carefully break apart the garlic head into individual cloves a day or two before planting. Leave the papery skin intact on each clove for protection.
Prepare the soil: Work your garden soil to a depth of 8-10 inches, removing rocks and breaking up clumps. Mix in 2-3 inches of compost to improve fertility and drainage.
Plant the cloves: Place cloves 2 inches deep, pointy end up, and 4-6 inches apart in rows spaced 10-12 inches apart. In colder regions, plant slightly deeper (3 inches) for better winter protection.
Apply mulch: Cover the planted area with 2-4 inches of mulch to regulate soil temperature, prevent weeds, and conserve moisture. In cold regions, add mulch after the ground freezes for best winter protection.
Water and maintain: Provide consistent moisture throughout the growing season, but reduce watering when leaves begin to yellow in late spring. Remove garlic scapes (curly flower stalks) when they appear to direct energy to the developing bulbs.
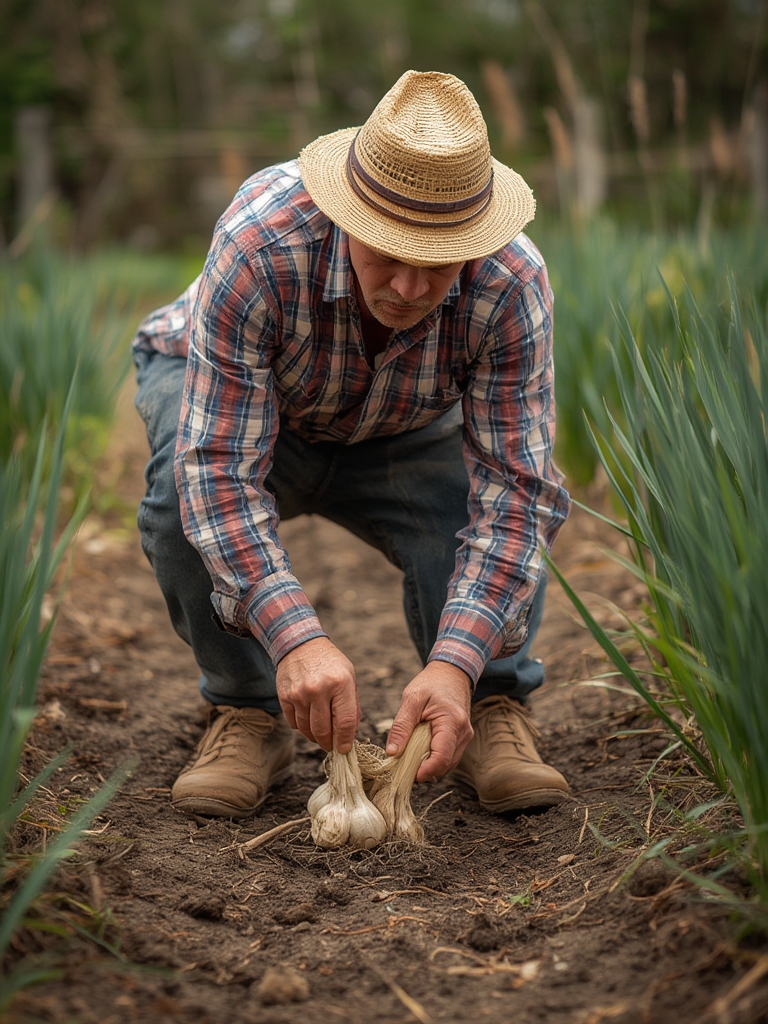
Harvest at the right time: When the lower third of the leaves turn yellow (usually June-July), carefully dig up the bulbs with a garden fork. Don’t pull from the tops as they may break.
Nutritional Benefits
Homegrown garlic contains allicin, a powerful compound with antibacterial and antifungal properties. Rich in manganese, vitamin B6, and vitamin C, garlic supports immune function and heart health. Growing your own ensures maximum nutritional value, as store-bought varieties often lose potency during long storage periods. Additionally, freshly harvested garlic contains higher levels of beneficial compounds than commercially grown alternatives.
Tips and Alternative Methods
Container gardening works well for garlic—use pots at least 8 inches deep with drainage holes. For limited spaces, try growing garlic as a border plant around other vegetables or flowers. In extremely cold regions, consider growing softneck varieties that are more cold-tolerant, or provide extra mulch protection. For organic growing, supplement with fish emulsion fertilizer in early spring when growth resumes.
Common Mistakes to Avoid
- Planting upside-down: Always plant cloves with the pointed end facing up.
- Overwatering: Garlic prefers moderately moist soil—soggy conditions lead to rot.
- Using treated bulbs: Commercial supermarket garlic may be chemically treated to prevent sprouting.
- Harvesting too late: Waiting until all leaves are brown results in split bulbs with poor storage quality.
- Insufficient spacing: Crowded plants compete for nutrients, producing smaller bulbs.
Storage / Maintenance Tips
After harvesting, cure garlic in a warm, dry, well-ventilated area for 2-3 weeks. Once cured, trim roots to ¼ inch, cut tops to 1-2 inches (for hardneck varieties) or braid (for softneck varieties). Store in mesh bags or baskets at room temperature (60-65°F) with moderate humidity. Well-cured garlic can last 6-8 months. Save your largest, healthiest bulbs for replanting in the fall to maintain a continuous garlic supply.
Conclusion
Growing garlic offers tremendous satisfaction with relatively little effort. From planting in fall to harvesting in summer, watching the progression of this flavorful crop connects you to the natural growing cycle while providing an essential kitchen staple. The superior flavor and health benefits of homegrown garlic make it well worth the wait. Start your garlic-growing adventure this season and discover why gardeners have treasured this plant for centuries. Share your garlic growing experiences in the comments below!
FAQs
Can I grow garlic from store-bought bulbs?
While possible, store-bought garlic may be treated with sprouting inhibitors. For best results, purchase certified seed garlic from garden centers or online suppliers.
Why are my garlic bulbs small?
Small bulbs typically result from insufficient growing time, poor soil fertility, inadequate watering, or planting too late. Ensure early fall planting and regular fertilization for larger bulbs.
Can garlic be grown indoors?
Yes, but it’s challenging to achieve full-sized bulbs. Indoor garlic does well for greens (like chives) but requires at least six hours of sunlight daily and temperatures below 40°F for proper bulb formation.
How do I know when my garlic is ready to harvest?
Harvest when 30-50% of the leaves have yellowed or browned, usually in early to mid-summer. Dig a test bulb to check if the cloves fill out the papery skin.
Is it necessary to remove garlic scapes?
While not absolutely necessary, removing scapes redirects energy to the bulb, potentially increasing size by 25-30%. Plus, scapes are delicious in stir-fries and pesto!