Ever wondered how to add fresh, nutrient-packed greens to your meals year-round with minimal effort and space? Microgreens might be your perfect solution. These tiny powerhouses—the seedlings of vegetables and herbs harvested just after they’ve sprouted their first true leaves—pack more nutritional punch than their fully-grown counterparts. Growing microgreens at home not only provides you with readily available fresh produce but also offers a sustainable way to reduce your carbon footprint while enhancing your meals with vibrant flavors and colors.
Table of Contents
Materials & Supplies
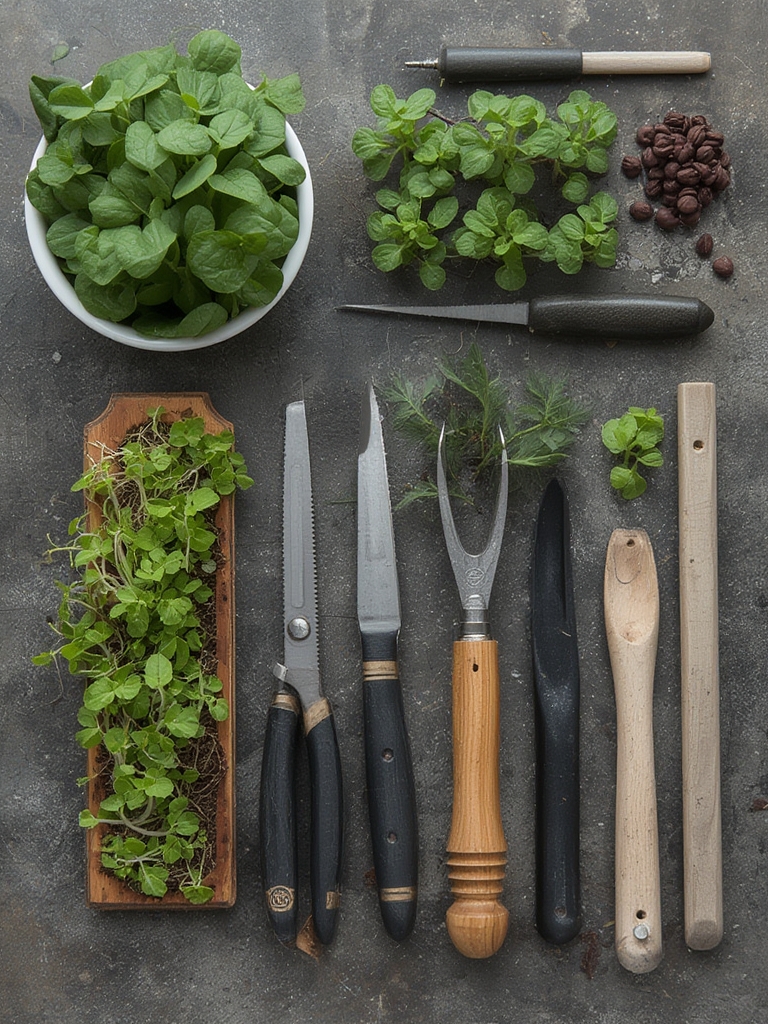
To start your microgreens journey, you’ll need:
- Growing trays: Shallow containers with drainage holes (specialized microgreen trays or repurposed plastic containers)
- Growing medium: Organic seed-starting mix or coconut coir (avoid regular potting soil as it’s too heavy)
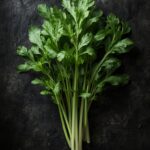
- Seeds: Specifically labeled for microgreens (broccoli, radish, sunflower, pea, and arugula are excellent starters)
- Spray bottle: For gentle watering without disturbing delicate seedlings
- Scissors or sharp knife: For harvesting
- Optional items: Growing lights for indoor cultivation, humidity dome, small fan for air circulation
Timing / Growing Schedule
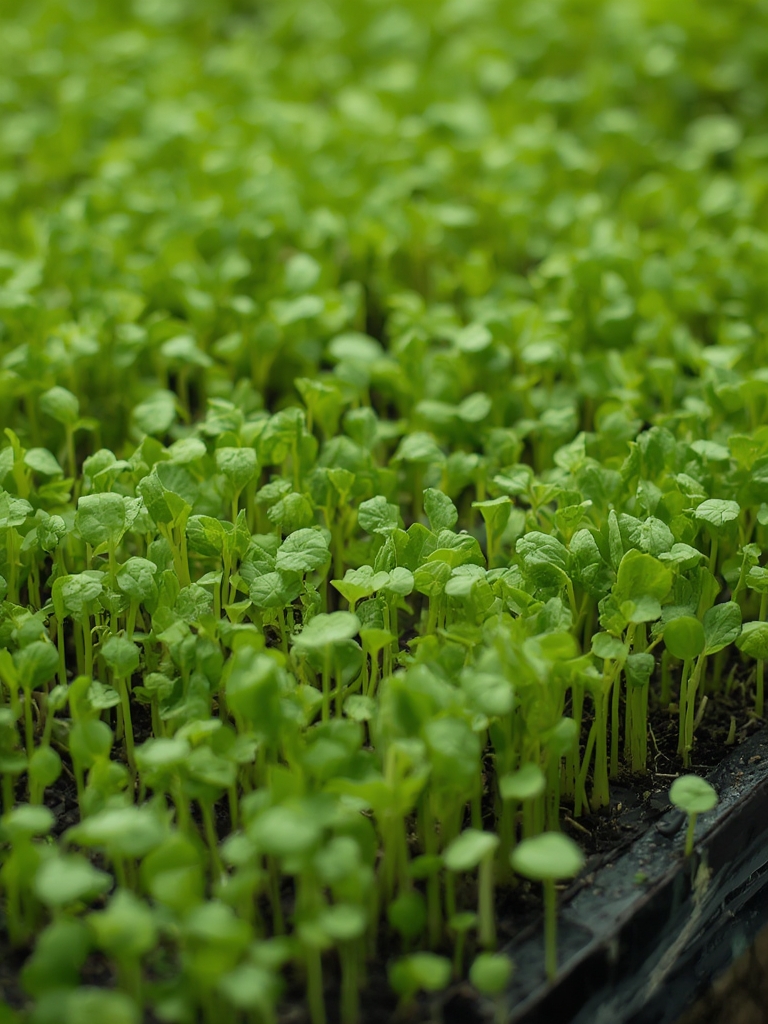
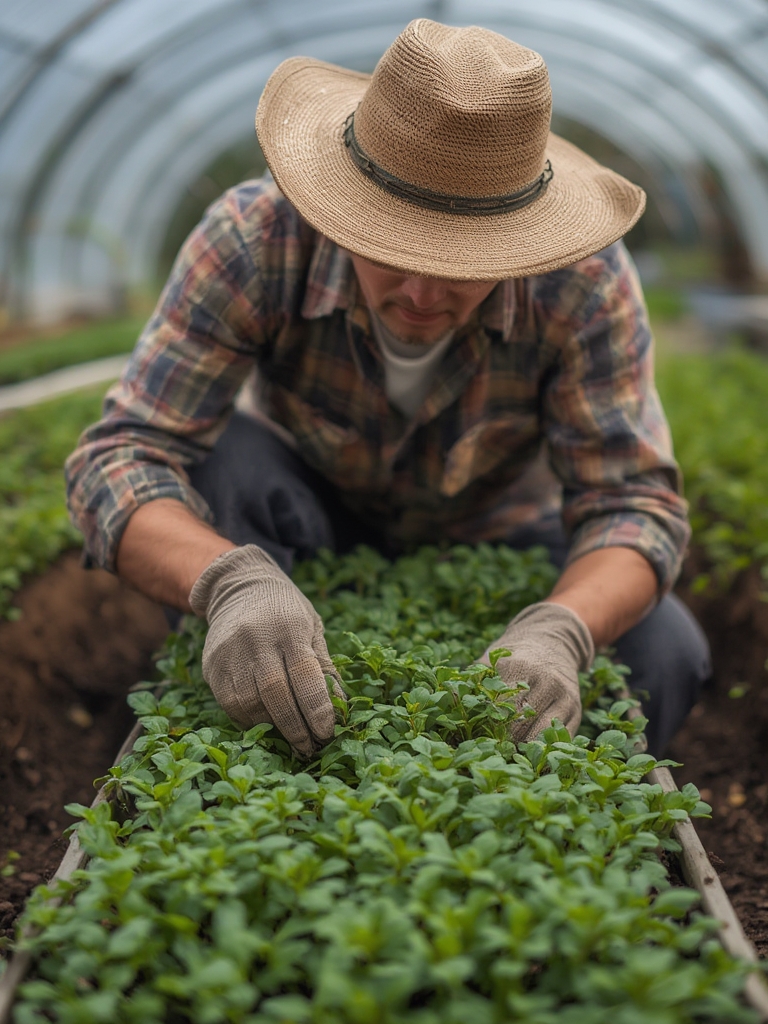
Most microgreens are ready to harvest in just 7-14 days from planting, making them one of the quickest crops you can grow. Prep time is minimal—about 15-20 minutes to set up each tray. Unlike traditional gardening that requires seasonal planning, microgreens can be grown year-round indoors, with new batches started weekly for continuous harvest. This quick turnaround means you can enjoy fresh greens in less time than it takes for a head of lettuce to mature in your garden.
Step-by-Step Instructions
Prepare your container: Fill your tray with 1-2 inches of moistened growing medium and flatten gently without compacting.
Sow seeds densely: Sprinkle seeds evenly across the surface—aim for seeds that nearly touch each other but avoid overcrowding. For larger seeds like peas or sunflower, pre-soak for 8-12 hours to speed germination.
Cover seeds lightly: Add a thin layer of growing medium or simply press seeds gently into contact with soil. Most microgreens don’t need to be buried deeply.
Water carefully: Use your spray bottle to thoroughly moisten the medium without disturbing the seeds. Consider bottom-watering by placing your tray in a shallow dish of water for 10 minutes.
Cover and darken: Place another tray or a towel over the seeds to create darkness, which encourages strong root development and tall stems.
Uncover when sprouted: After 2-4 days when most seeds have sprouted, remove the cover and place in indirect light.
Maintain moisture: Water once or twice daily by misting or bottom-watering to keep medium moist but not soggy.
Harvest at optimal time: When plants are 2-3 inches tall with their first true leaves (typically 7-14 days after planting), cut just above the soil line using scissors.
Nutritional Benefits
Microgreens contain up to 40 times more nutrients than their mature counterparts, according to research from the USDA. They’re particularly rich in vitamins C, E, and K, plus antioxidants and beneficial plant compounds. Because they’re harvested and consumed so quickly after sprouting, they retain maximum nutritional value. Just a handful added to sandwiches, salads, or as garnishes can significantly boost your daily nutrient intake.
Tips and Alternative Methods
- Grow vertically: Stack trays on shelving units to maximize small spaces.
- Reuse growing medium: Though not recommended for commercial production, home growers can often get 2-3 crops from the same medium.
- Try soil-free methods: Grow on unbleached paper towels, hemp mats, or burlap for easy clean-up.
- Experiment with flavors: Mix seed varieties for custom blends—try spicy radish with mild pea shoots.
- Consider climate: In humid environments, reduce watering frequency and increase air circulation to prevent mold.
Common Mistakes to Avoid
- Overwatering: Causes mold and root rot. Solution: Water from below or use a mister.
- Insufficient light: Results in pale, leggy seedlings. Solution: Provide at least 4 hours of direct sunlight or 12 hours under grow lights.
- Poor air circulation: Encourages fungal issues. Solution: Use a small fan on low setting nearby.
- Harvesting too late: Leads to bitter flavors and tougher texture. Solution: Harvest at 1-3 inches tall, depending on variety.
Storage / Maintenance Tips
Store unwashed harvested microgreens in a container lined with paper towels in the refrigerator for up to a week. For optimal freshness, harvest only what you need immediately. To maintain continuous production, start new trays weekly. Clean trays thoroughly between batches with mild soap and water or a 10% bleach solution to prevent disease.
Conclusion
Growing microgreens offers an accessible entry point into home food production with minimal investment and quick rewards. The process is simple enough for beginners yet offers endless varieties to keep experienced gardeners engaged. By incorporating these nutrient-dense greens into your diet, you’re supporting both personal health and environmental sustainability. Why not start your first tray this weekend?
FAQs
Can I use regular garden seeds for microgreens?
While possible, it’s safer to use seeds specifically sold for microgreens or sprouting, as they’re tested for pathogens and haven’t been treated with fungicides.
Why are my microgreens falling over?
This typically indicates either too much moisture, insufficient light, or overcrowding. Reduce watering, increase light exposure, and thin seeds in future plantings.
Do microgreens regrow after cutting?
Unlike mature plants, microgreens generally don’t regrow after harvesting since they’re cut so close to the soil line and haven’t developed mature root systems.
What’s the difference between microgreens and sprouts?
Sprouts are germinated in water and consumed whole (seed, root, and shoot), while microgreens grow in soil or another medium and only the stems and leaves are consumed.