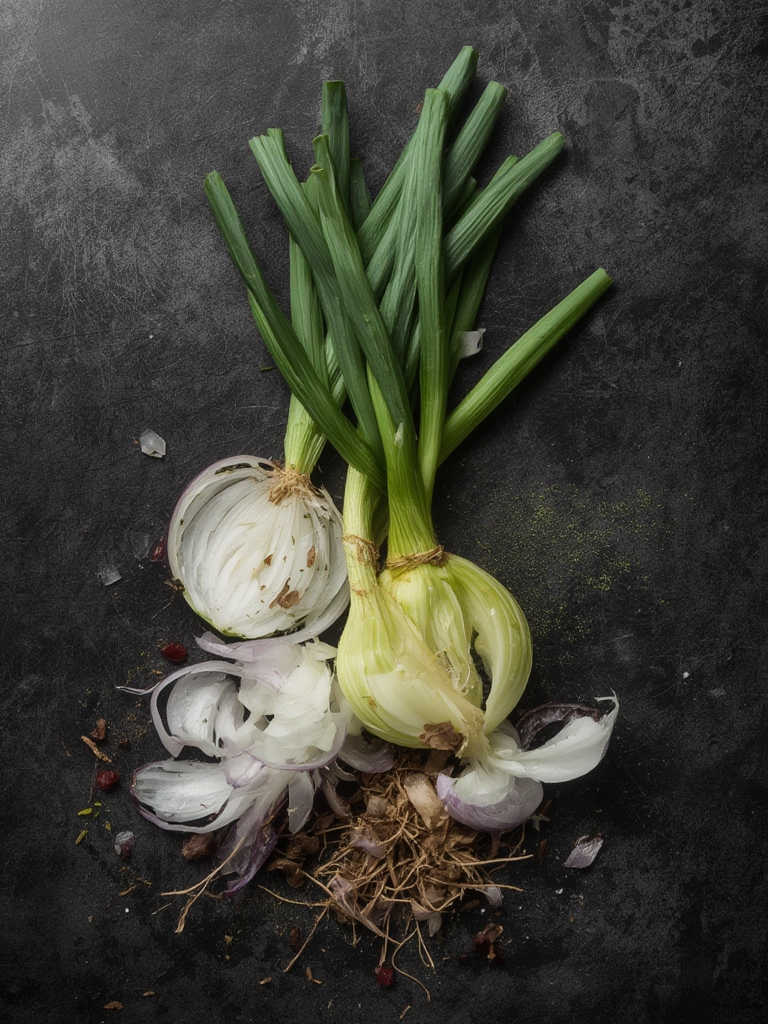
Have you ever tasted the unmatched flavor of homegrown onions and shallots, fresh from your own garden? There’s something truly rewarding about cultivating these versatile alliums yourself, watching them develop from tiny seeds or sets into full-sized bulbs ready for your kitchen. Growing onions and shallots at home not only ensures a steady supply of these kitchen staples but also allows you to explore varieties you might never find in grocery stores. Whether you’re a seasoned gardener or just starting out, this guide will walk you through everything you need to know to successfully grow these flavorful crops in your own space.
Table of Contents
Materials & Supplies
To get started with growing onions and shallots, you’ll need:
- Onion sets, seeds, or transplants – Sets (small bulbs) are easiest for beginners, while seeds offer more variety options
- Shallot bulbs – Look for firm bulbs with no signs of sprouting or mold
- Well-draining soil – Preferably enriched with compost or aged manure
- Garden bed or containers – At least 6-8 inches deep with drainage holes
- Compost or balanced fertilizer (10-10-10 or 5-10-10)
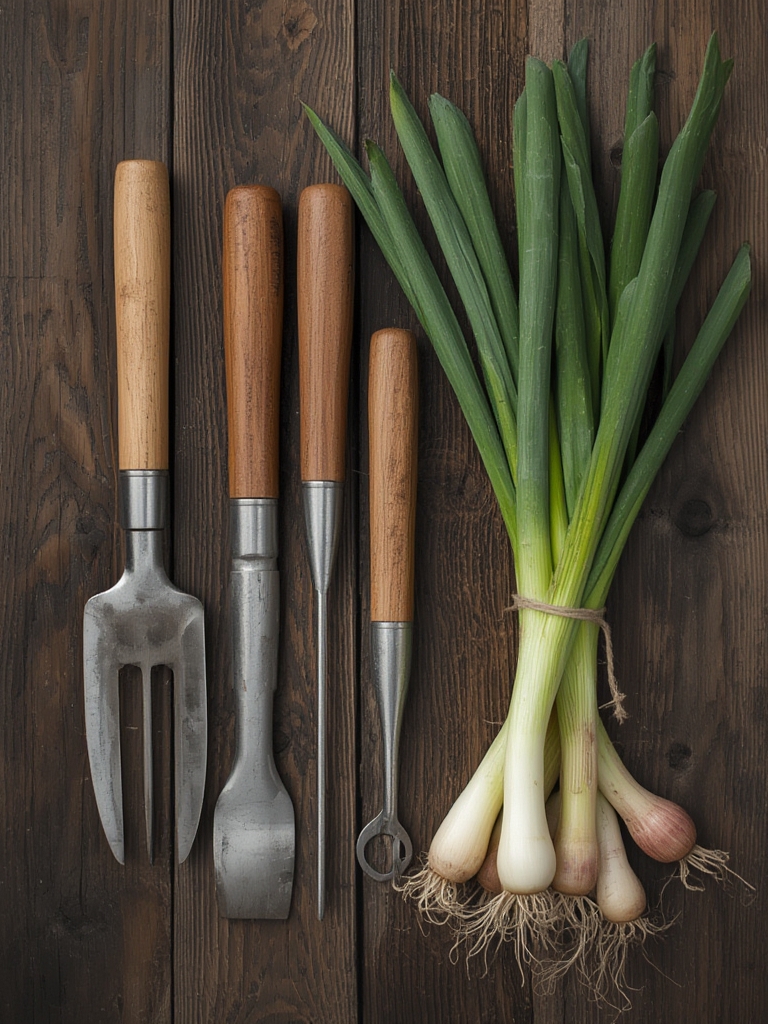
- Garden trowel and rake – For soil preparation and planting
- Watering can or hose with gentle spray attachment
- Mulch (straw or dried grass clippings work well)
- Plant markers – To identify different varieties
- Garden gloves (optional but recommended)
Timing / Growing Schedule
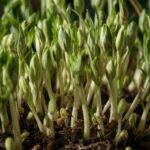
Onions and shallots are cool-season crops with specific timing requirements. Green onions can be harvested much sooner than bulb onions, providing quicker gratification for impatient gardeners.
For spring planting (most common in northern regions):
- Preparation: Late winter to early spring
- Planting time: 4-6 weeks before the last frost
- Growth period: 90-120 days for bulb onions; 100-120 days for shallots
- Harvest time: Mid to late summer, when tops begin to yellow and fall over
For fall planting (suitable for milder climates):
- Preparation: Early fall
- Planting time: 8-10 weeks before first hard freeze
- Growth period: Plants will establish before winter and resume growth in spring
- Harvest time: Early to mid-summer of the following year
Step-by-Step Instructions
Prepare your soil – Loosen soil to a depth of 8-10 inches and remove any stones or debris. Mix in 2-3 inches of compost or aged manure. The pH should be between 6.0-7.0 for optimal growth.
Plan your spacing – Mark rows 12-18 inches apart. For onions, plan 4-6 inches between plants. For shallots, allow 6-8 inches between each bulb.
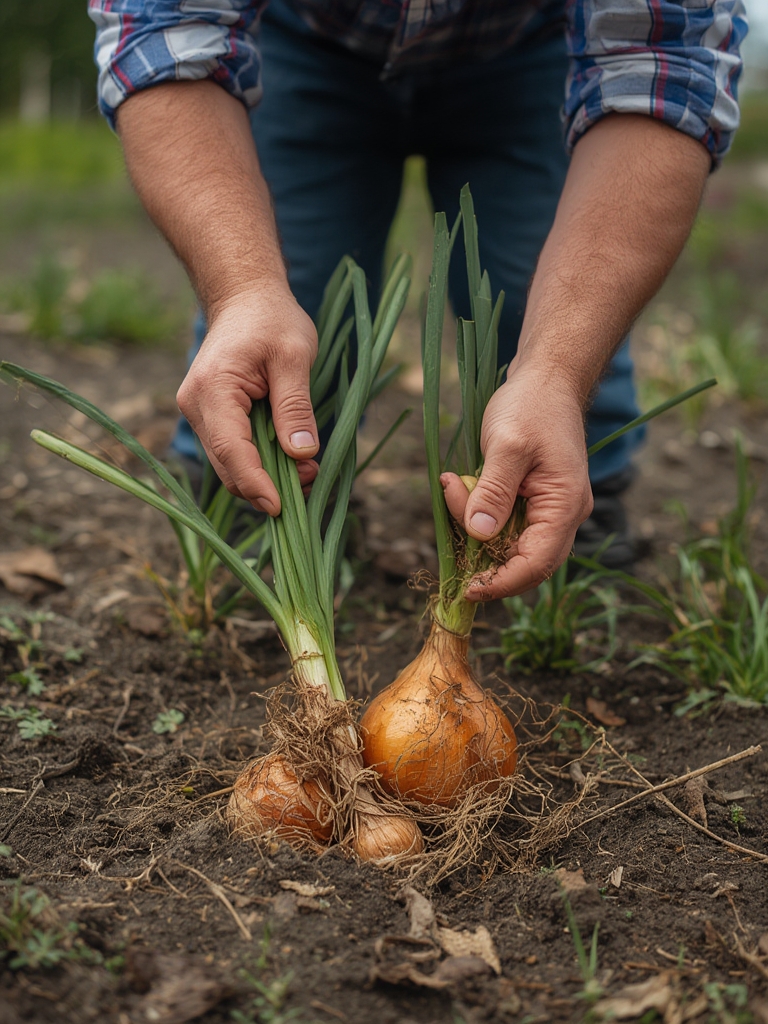
Plant properly – For sets or bulbs, plant with the pointed end up, pushing them into the soil until just the tip is visible. For seeds, sow 1/4 inch deep and thin seedlings later.
Water thoroughly – After planting, water gently but thoroughly. Keep soil consistently moist but not waterlogged during the growing season.
Mulch the beds – Apply 1-2 inches of mulch around plants (but not touching the stems) to suppress weeds and retain moisture.
Fertilize appropriately – Apply balanced fertilizer when plants are about 6 inches tall, then again 3-4 weeks later.
Monitor and maintain – Pull weeds regularly by hand to avoid disturbing shallow roots. Stop watering when tops begin to yellow and fall over (about 2-3 weeks before harvest).
Nutritional Benefits
Homegrown onions and shallots offer impressive nutritional profiles and health benefits:
- Rich in vitamin C, B vitamins, and potassium
- Contain powerful antioxidants like quercetin
- Provide prebiotic fiber for gut health
- Lower in pesticide residue than commercially grown varieties
- Shallots contain more antioxidants than regular onions
- Green onions offer higher vitamin K content than mature bulbs
Tips and Alternative Methods
- Container growing: Choose containers at least 8 inches deep. Long, rectangular planters work well for multiple plants.
- Indoor cultivation: Green onions can be grown year-round on a sunny windowsill.
- Succession planting: Stagger plantings of green onions every 2-3 weeks for continuous harvest.
- Companion planting: Onions and shallots grow well alongside carrots, beets, and lettuce but should be kept away from beans and peas.
- Water-saving tip: Use drip irrigation to deliver water directly to roots while keeping foliage dry.
Common Mistakes to Avoid
- Planting too deep: Sets and bulbs planted too deeply may rot before sprouting.
- Overcrowding: Insufficient spacing leads to smaller bulbs. Thin seedlings properly for optimal development.
- Inconsistent watering: Alternating between dry and wet conditions causes split bulbs and irregular growth.
- Late fertilizing: Applying nitrogen fertilizer late in the growing season results in lush tops but underdeveloped bulbs.
- Ignoring day length: Using long-day varieties in southern regions or short-day varieties in northern areas will yield poor results.
Storage and Maintenance Tips
After harvest, cure your onions and shallots for long-term storage:
- Lay harvested bulbs in a single layer in a warm, dry, well-ventilated location for 7-14 days.
- Once the outer skins are papery and necks are completely dry, trim tops to 1 inch.
- Store in mesh bags, old pantyhose, or open baskets in a cool (32-40°F), dry place.
- Check regularly and remove any that show signs of sprouting or softening.
Properly stored onions can last 3-6 months, while shallots often keep for up to 8 months.
Conclusion
Growing onions and shallots at home is a rewarding endeavor that provides fresh, flavorful ingredients for countless dishes. With proper planning and care, even beginners can achieve excellent results. The journey from tiny sets to fully formed bulbs may take patience, but the superior taste and satisfaction of harvesting your own crop make it well worth the effort. Why not set aside a small section of your garden or prepare a few containers for these versatile alliums this season? Your cooking—and your taste buds—will thank you!
FAQs
How can I tell when my onions and shallots are ready to harvest?
Look for yellowing and falling over of the tops. When about half the plants show these signs, bend over all remaining tops to speed up the ripening process. Harvest a few days after all tops have fallen.
Why are my onion plants producing lots of green growth but small bulbs?
This typically happens due to excessive nitrogen fertilizer, improper day-length variety for your region, or harvesting too early. Ensure you’re using the right onion type for your location and follow a balanced fertilization schedule.
Can I grow onions and shallots from kitchen scraps?
Green onions can easily be regrown from the white root ends in water or soil. However, regular onions and shallots from the grocery store may have been treated with sprouting inhibitors. For best results, use sets or bulbs specifically sold for planting.
How do I prevent onion pests and diseases?
Practice crop rotation (don’t plant alliums in the same spot for 3 years), remove plant debris at the end of the season, and ensure good air circulation. For organic pest control, try neem oil spray or introducing beneficial insects like ladybugs to control thrips.
Can I harvest some green onions from my bulb onion patch?
Absolutely! You can selectively thin your onion plantings and use the pulled plants as green onions. This gives remaining plants more space while providing an early harvest.