
Have you ever tasted the sweet, juicy goodness of freshly picked mulberries? These delectable fruits aren’t just summer treats—they come from beautiful, shade-providing trees that can enhance any landscape. Growing mulberry trees at home offers a rewarding experience, providing decades of abundant harvests with minimal maintenance. Whether you have a spacious backyard or a modest garden, mulberry trees adapt well to various environments and reward gardeners with their resilience and productivity. Let’s explore how you can successfully grow these magnificent trees and enjoy their bountiful harvests year after year.
Table of Contents
Materials & Supplies

To successfully grow mulberry trees, you’ll need:
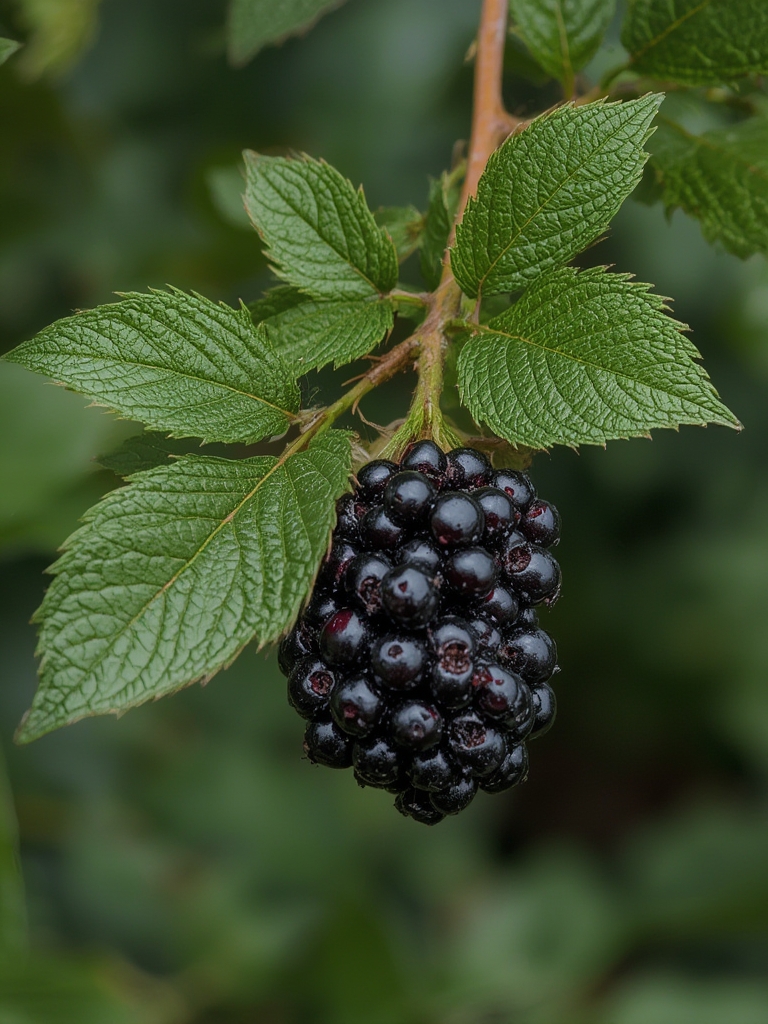
- Mulberry sapling or cutting: Choose black (Morus nigra), red (Morus rubra), or white (Morus alba) varieties depending on your climate and taste preference.
- Garden spade and fork: For digging and preparing planting holes.
- Organic compost or well-rotted manure: To enrich the soil and provide nutrients.
- Mulch: Wood chips or straw to retain moisture and suppress weeds.
- Watering can or hose: For irrigation during establishment.
- Pruning shears: For maintenance pruning and shaping.
- Garden stakes and ties: Optional, for supporting young trees in windy locations.
- Fruit netting: Optional, to protect ripening fruits from birds.
Timing / Growing Schedule
Mulberry trees are best planted during late fall or early spring when dormant. Young trees establish quickly but typically require 2-3 years before producing significant fruit. Once established, they can bear fruit for 25-50 years or longer! Compared to other fruit trees like apples or cherries, mulberries require far less maintenance and have fewer pest issues, making them perfect for beginner gardeners. Harvest season generally runs from mid-June through August, depending on your climate zone.
Step-by-Step Instructions

Select the right location: Choose a sunny to partially shaded area with at least 15-20 feet of clearance from buildings. Mulberries have extensive root systems and can reach 30+ feet tall, though dwarf varieties stay smaller.
Pro tip: Avoid planting near patios or walkways, as dropping fruits can stain surfaces.Prepare the soil: Dig a hole twice the width of the root ball and equally deep. Mulberries adapt to most soil types but prefer well-draining, slightly acidic to neutral pH soils.
Pro tip: Incorporate organic matter into poor soils to improve drainage and fertility.Plant the tree: Position the sapling so the crown sits slightly above soil level. Backfill with soil, gently firming around the roots without compacting.
Pro tip: Create a water basin around the tree to direct water to the roots during establishment.Water thoroughly: Provide deep watering after planting and regularly for the first growing season.
Pro tip: Apply 2-3 inches of mulch around the base, keeping it away from the trunk to prevent rot.Establish care routine: Water weekly during dry spells for the first year, then only during extended droughts thereafter.
Nutritional Benefits
Mulberries are nutritional powerhouses, packed with vitamin C, iron, calcium, and antioxidants. They contain resveratrol, which may promote heart health, and anthocyanins that support cognitive function. Growing your own ensures access to chemical-free, tree-ripened berries at their nutritional peak—something store-bought varieties can’t match.
Tips and Alternative Methods
- Container growing: Dwarf varieties like ‘Issai’ or ‘Gerardi Dwarf’ thrive in large containers (minimum 20-gallon size) with drainage holes.
- Espalier technique: Train mulberries against walls to save space and create decorative elements.
- Interplanting: Grow shade-tolerant herbs like mint or lemon balm beneath established trees.
- Fruitless varieties: If you love the shade but not the mess, consider fruitless cultivars like ‘Kingan’ or ‘Stribling’.
Common Mistakes to Avoid
- Over-pruning: Mulberries bleed sap heavily when pruned, so limit cutting to winter dormancy.
- Impatience with fruiting: Young trees need time to establish before producing well. Be patient!
- Ignoring staining potential: The juice stains clothing permanently—wear old clothes during harvest.
- Harvesting too early: Wait until fruits are fully colored and detach easily for best flavor.
Storage / Maintenance Tips
Harvest mulberries by spreading tarps beneath trees and gently shaking branches. Fresh berries last only 2-3 days refrigerated, so freeze extras or process immediately. For tree maintenance, apply a balanced organic fertilizer in spring, and perform light pruning during winter dormancy to remove dead or crossing branches. No regular spraying is typically needed, as mulberries resist most pests naturally.
Conclusion
Growing mulberry trees combines beauty, shade, and delicious harvests in one package. Their easy-care nature and long productive life make them an excellent investment for any garden. Whether you’re drawn to their nutritional benefits or their landscaping value, mulberries deserve a place in your growing space. Why not plant one this season and start your mulberry journey?
FAQs
How long before my mulberry tree produces fruit?
Most trees begin producing small harvests in 2-3 years, with full production by years 5-7.
Do I need two mulberry trees to get fruit?
No, mulberries are self-fertile, meaning a single tree will produce fruit without a pollination partner.
Why are mulberry trees banned in some areas?
Some cities restrict white mulberries due to their prolific pollen production, which can trigger allergies. Check local regulations before planting.
Can mulberry trees grow in cold climates?
Black mulberries are hardy to zone 5, while red native mulberries can survive down to zone 4. White mulberries are generally the most cold-hardy, suitable for zones 3-9.