
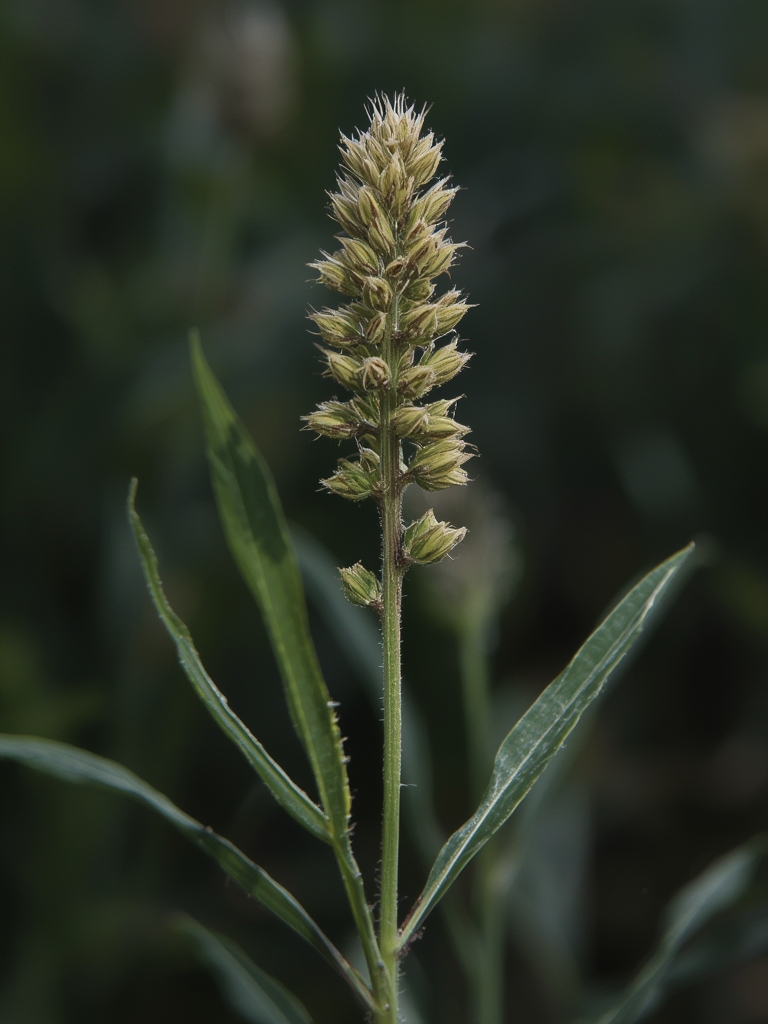
Have you been looking for a simple way to improve your garden soil without breaking your back or bank? Buckwheat might be the perfect solution you haven’t considered. As a fast-growing cover crop that can transform your garden in just weeks, buckwheat offers beginning gardeners an accessible entry point into the world of soil building and regenerative gardening. Unlike many cover crops that require precise timing and management, buckwheat forgives mistakes and delivers results quickly, making it ideal for novice gardeners wanting to rejuvenate their soil naturally.
Table of Contents
Materials & Supplies
To get started with buckwheat as a cover crop, you’ll need:
- Buckwheat seeds (1-2 pounds per 500 square feet)
- Garden rake for soil preparation
- Broadcast spreader (optional but helpful for even distribution)
- Garden hose with spray nozzle or irrigation system
- Garden shears or mower for cutting down at flowering
- Garden gloves for protection when working
- Garden fork or tiller (optional for turning under)
For smaller areas, a simple hand rake and manual seed spreading work perfectly fine. The beauty of buckwheat is that it requires minimal specialized equipment.
Timing / Growing Schedule
Buckwheat stands out for its rapid growth cycle compared to other cover crops:
- Preparation time: 30-60 minutes to prepare soil and sow seeds
- Germination: 3-5 days (significantly faster than clover or rye)
- Full growth period: 30-45 days from seeding to flowering
- Optimal planting window: After last frost through late summer
- Multiple cycles: Can grow 2-3 successive crops in one season
Unlike winter cover crops that occupy your garden for months, buckwheat completes its cycle in weeks, allowing you to improve soil quickly between vegetable plantings.
Step-by-Step Instructions

Prepare the soil: Lightly rake your garden area to create a smooth seed bed. Remove large weeds but don’t worry about perfection—buckwheat competes well against weeds.
Broadcast seeds: Scatter seeds evenly across the soil at a rate of 1-2 pounds per 500 square feet. For best coverage, divide your seed supply in half and sow in perpendicular directions.
Cover lightly: Rake very gently to cover seeds with about ¼ inch of soil. Buckwheat needs light to germinate, so avoid burying too deep.
Water thoroughly: Provide a gentle, even watering to initiate germination. Pro tip: water in the evening to minimize evaporation.
Monitor growth: Buckwheat emerges quickly, usually within 3-5 days. It requires minimal attention but benefits from occasional watering during dry periods.
Cut before seed formation: When plants reach about 80% flowering (typically 30-40 days after planting), cut them down before they set seeds. This prevents self-seeding and captures maximum nutrients.
Allow to wilt: Let cut buckwheat wilt for 24-48 hours before turning into the soil to prevent regrowth.
Advantages of Buckwheat
- Soil improvement: Loosens compacted soil with its extensive root system
- Weed suppression: Grows rapidly to outcompete weeds
- Pollinator attraction: Flowers provide excellent nectar for bees and beneficial insects
- Phosphorus mobilization: Uniquely extracts and makes phosphorus available to subsequent crops
- Heat tolerance: Thrives in summer when other cover crops struggle
- Erosion control: Quickly establishes ground cover to protect soil
Tips and Alternative Methods
- Container gardening: Works well in raised beds or large containers to improve soil between plantings
- Companion planting: Grow in orchard rows or between widely spaced crops
- Succession planting: Follow spring vegetables with buckwheat, then fall crops
- Frost sensitivity: Use buckwheat’s frost intolerance to your advantage—a light frost will kill it, creating natural mulch
- Climate adaptations: In hot climates, provide afternoon shade; in cool areas, choose full sun locations
Common Mistakes to Avoid
- Planting too deeply: Seeds need light to germinate, so keep coverage minimal
- Letting it go to seed: Buckwheat can become weedy if allowed to set and drop seed
- Insufficient water during germination: The first week is critical for establishment
- Turning under too soon: Wait until flowering for maximum soil benefits
- Expecting winter survival: Unlike many cover crops, buckwheat is killed by frost
Storage / Maintenance Tips
- Seed storage: Keep unused seeds in a cool, dry place for up to two years
- Watering: Only during extended dry periods once established
- Termination options: Mow, crimp, or cut and incorporate into soil
- Composting: Buckwheat residues break down quickly in compost piles
- Seasonal transitions: Allow 2-3 weeks after incorporation before planting next crop
Conclusion
Buckwheat stands out as the perfect gateway cover crop for beginning gardeners. Its rapid growth, minimal care requirements, and impressive soil-building capabilities make it an excellent choice for anyone looking to improve their garden soil naturally. By incorporating this versatile plant into your garden rotation, you’ll be well on your way to building healthier soil while supporting pollinators. Why not set aside a small section of your garden to try buckwheat this season?
FAQs
How long after turning under buckwheat can I plant my garden?
Wait approximately 2-3 weeks after incorporating buckwheat to allow initial decomposition before planting your next crop.
Will buckwheat regrow after cutting it down?
If cut before flowering, buckwheat may regrow. To prevent this, either wait until early flowering or let cut plants dry for 1-2 days before turning under.
Can buckwheat grow in partial shade?
Yes, buckwheat tolerates partial shade better than many cover crops, though it grows most vigorously in full sun.
Is buckwheat drought-resistant?
While not extremely drought-tolerant, established buckwheat requires less water than many garden crops and can withstand short dry periods.
Can I eat the buckwheat I grow as a cover crop?
Yes, buckwheat grown as a cover crop produces edible seeds that can be harvested, though varieties sold for cover cropping may not be optimal for culinary use.