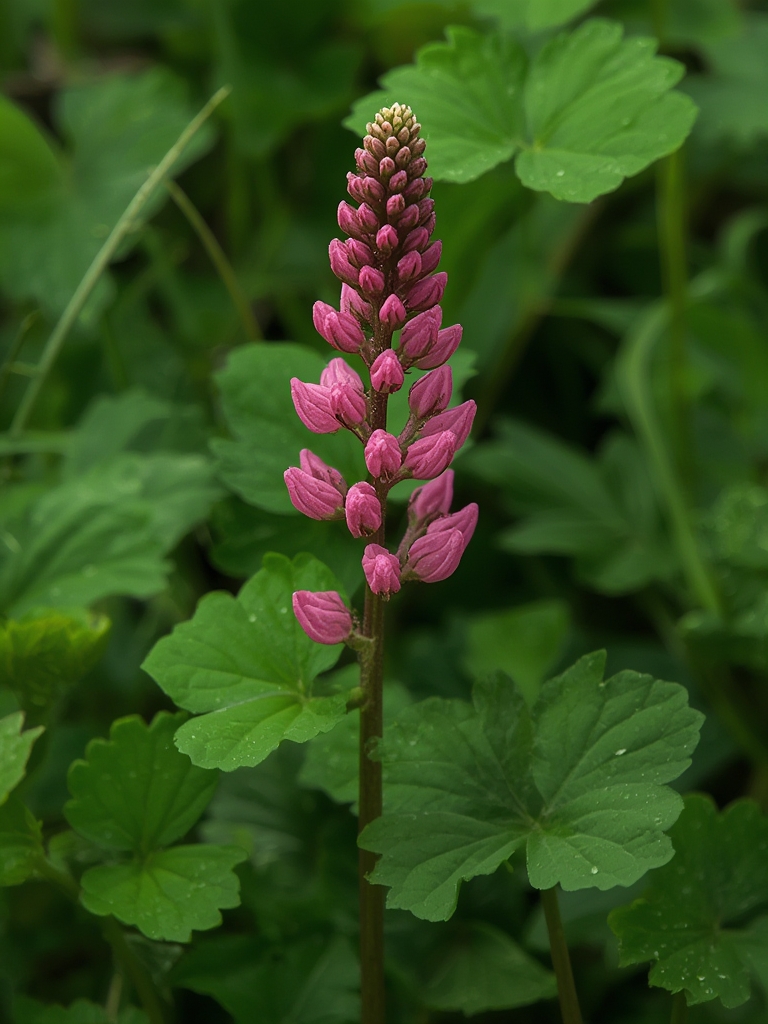
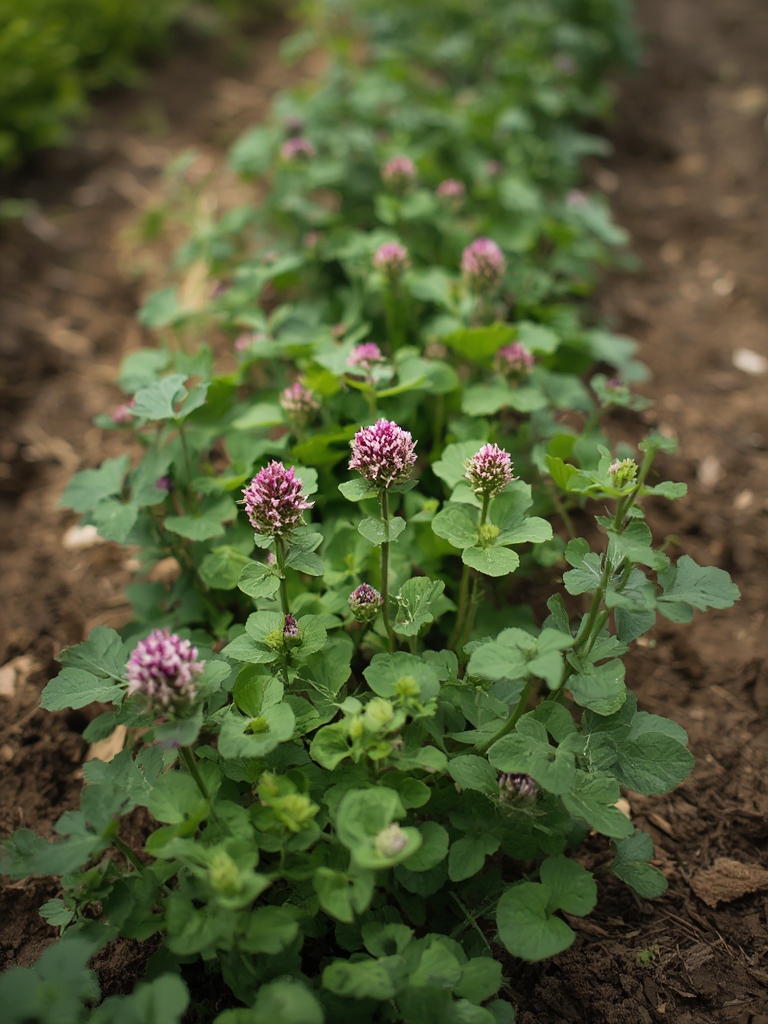
Have you been searching for that perfect cover crop to revolutionize your garden’s health? Crimson clover might be the solution you’ve been looking for all along. This striking legume with brilliant red flowers doesn’t just add beauty to your landscape—it works tirelessly below the surface to improve soil structure, fix nitrogen, and support beneficial insects. As home gardeners increasingly focus on sustainable practices, crimson clover has emerged as a standout option for anyone looking to naturally boost garden productivity while reducing the need for chemical fertilizers and pesticides.
Table of Contents
Materials & Supplies
To successfully grow crimson clover as a cover crop, you’ll need:
- Crimson clover seeds: 1/4 pound per 500 square feet for adequate coverage
- Broadcast spreader or hand seeder: For even distribution (alternatively, you can scatter by hand)
- Garden rake: To lightly incorporate seeds into soil
- Water source: Sprinkler, hose, or watering can for initial establishment
- Inoculant (optional): Rhizobium bacteria that help with nitrogen fixation
- pH testing kit (optional): Crimson clover performs best in soil with pH 5.8-7.0
- Organic matter (optional): Compost or aged manure to improve poor soils
Timing / Growing Schedule
Crimson clover offers exceptional flexibility in planting times. For best results, sow seeds 4-6 weeks before the first expected frost in fall for winter coverage, or early spring as soon as soil can be worked. The growth timeline includes:
- Germination: 7-10 days with adequate moisture
- Establishment period: 3-4 weeks to develop root systems
- Active growth phase: 2-3 months (faster in warm conditions)
- Flowering stage: Occurs 70-90 days after planting (spring for fall-planted clover)
- Total growth cycle: 4-5 months from seeding to full maturity
This timing allows crimson clover to build soil during fallow periods when garden beds might otherwise sit empty.
Step-by-Step Instructions
Test and prepare soil: Clear the area of weeds and debris. Crimson clover isn’t fussy, but a quick pH test ensures optimal conditions. A light raking creates the perfect seed bed.
Mix seeds with inoculant: For first-time clover plantings, coating seeds with rhizobium inoculant can boost nitrogen-fixing capabilities by up to 75%. Simply mix in a bucket according to package directions.
Sow seeds evenly: Broadcast at a rate of 1/4 pound per 500 square feet. For small areas, mix seeds with sand for more even distribution and better visibility as you scatter.
Incorporate lightly: Rake very gently to cover seeds with no more than 1/4 inch of soil. Excessive depth will prevent germination—aim for just enough coverage to protect from birds.
Water thoroughly: Keep the seedbed consistently moist until germination occurs, usually within 7-10 days. A light misting approach prevents washing away seeds.
Monitor growth: Once established at 3-4 inches tall, crimson clover requires minimal attention. Its deep taproot will break up compacted soil while its canopy suppresses weeds.
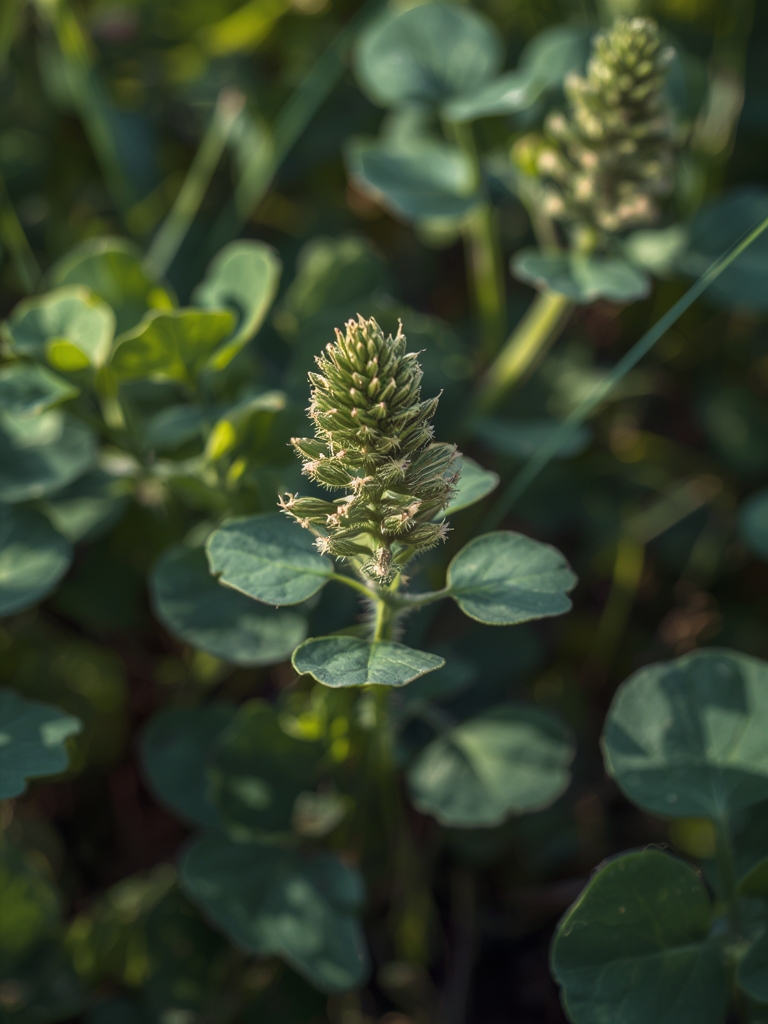
Termination timing: For maximum nitrogen benefit, cut down or till under when plants reach about 50% flowering stage—this balances nitrogen content with manageable biomass.
Nutritional Benefits / Advantages
Crimson clover excels beyond aesthetics and soil improvement. As a cover crop, it delivers:
- Nitrogen production: Fixes 70-150 pounds of nitrogen per acre annually
- Erosion control: Reduces soil loss by up to 95% compared to bare ground
- Organic matter: Adds approximately 1.5-2.5 tons of biomass per acre
- Beneficial insect habitat: Supports over 20 species of pollinators
- Weed suppression: Naturally blocks weed growth through competition
- Water management: Improves infiltration rates by 35-45%
Tips, Alternative Methods, or Gardening Advice
Adapt crimson clover to your specific garden situation:
- Interplanting: Sow clover between rows of fall garlic or overwintering vegetables
- Understory planting: Use under fruit trees or berry bushes as living mulch
- Container option: Grow in large pots (12+ inches deep) to improve potting soil
- No-till approach: Instead of turning under, cut at soil level and use clippings as mulch
- Cold climate considerations: In zones 3-4, plant earlier in fall and consider a winter-hardy companion like winter rye
Common Mistakes to Avoid
- Planting too deeply: Seeds need minimal soil coverage—excessive depth leads to poor germination
- Insufficient moisture during establishment: Early drying out is the main cause of clover failure
- Turning under too late: Once crimson clover becomes woody, it decomposes slowly and can temporarily tie up nitrogen
- Mowing at the wrong height: Cutting below 4 inches can kill the plants prematurely
- Not inoculating in new beds: Without proper bacteria, nitrogen-fixing capability is significantly reduced
Storage / Maintenance Tips
- Seed storage: Keep leftover seeds in a cool, dry place for up to 3 years
- Watering needs: Once established, crimson clover is drought-tolerant but benefits from occasional deep watering during extended dry periods
- Reseeding: Allow 10-15% of plants to flower and set seed for natural reestablishment
- Seasonal transitions: Cut and compost spring growth two weeks before planting summer crops
- Monitoring: Check occasionally for aphids—a strong spray of water usually suffices for control
Conclusion
Crimson clover offers an impressive array of benefits as a cover crop—from nitrogen fixation and soil improvement to erosion control and pollinator support. By incorporating this versatile legume into your garden rotation, you’ll build soil fertility naturally while adding striking beauty to your landscape. The minimal investment in seeds and time yields tremendous returns in garden productivity and sustainability. Why not set aside a section of your garden this season to experience the transformative power of crimson clover?
FAQs
How does crimson clover compare to other cover crops?
Crimson clover excels at nitrogen fixation compared to non-legumes like rye, while establishing more quickly than other clovers. Its flowering stage also provides superior pollinator support compared to most cover crops.
Can I plant vegetables directly after turning under crimson clover?
It’s best to wait 2-3 weeks after incorporating crimson clover before planting. This allows initial decomposition and prevents potential nitrogen competition.
Will crimson clover become invasive in my garden?
Unlike some cover crops, crimson clover is an annual that rarely becomes problematic. In most regions, it won’t overwinter and requires reseeding for continued growth.
Can I use crimson clover in raised beds?
Absolutely! Crimson clover works exceptionally well in raised beds, improving soil structure and adding nutrients in these contained growing environments.
How do I know when crimson clover has fixed enough nitrogen?
The peak nitrogen content occurs when plants reach approximately 50% flowering stage. At this point, the brilliant crimson blooms will be visible across about half the planting area.